We detected considerable movement of internal furniture panels, and suspected that we had a major problem with our Main Bulkhead.
Nicholas removed all the furniture and wall cladding in the Starboard Forward Cabin, and our fears were confirmed.
Inside the Starboard Forward Cabin:
Main Bulkhead looking aft - Vertical crack

Tabbing no longer attached to the bulkhead


Main Bulkhead Aft Side - Vertical tear

More cracks in the Main Bulkhead


Main Bulkhead looking aft, outboard side
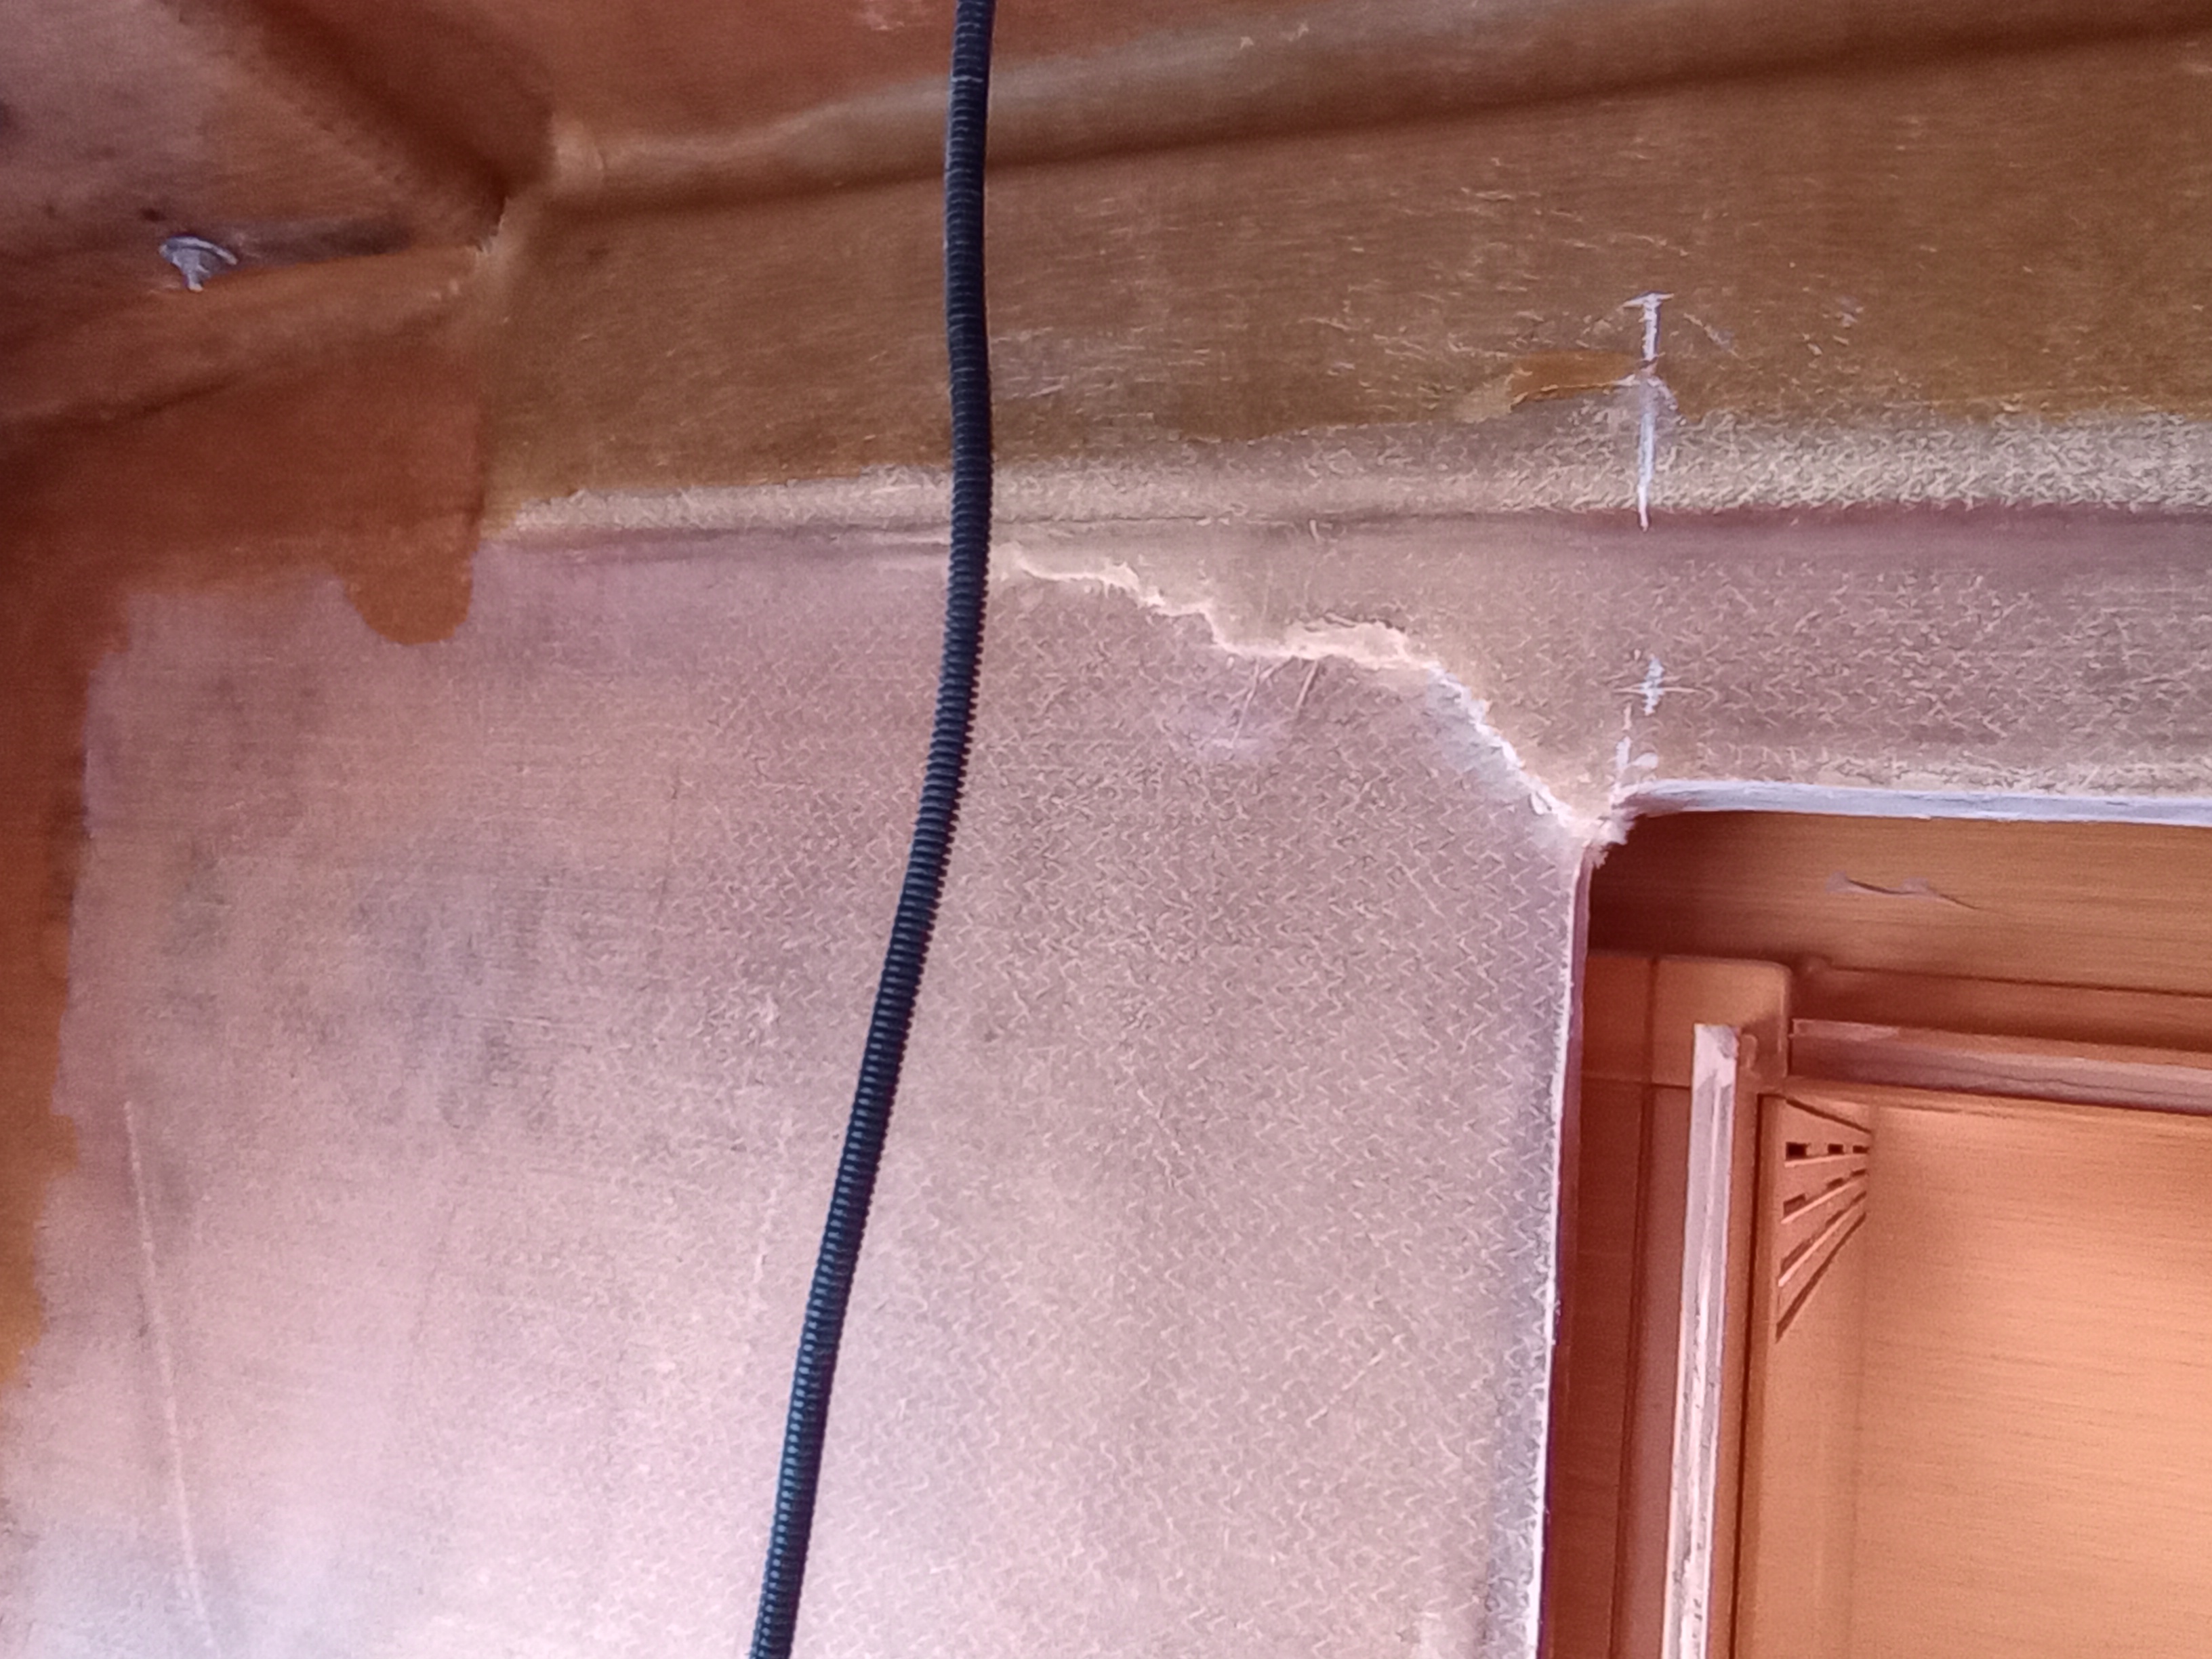

Tear-out on underfloor hull half bulkhead

Secondary Bulkhead - Cabin Forward Wall - cracked with tabbing tear out


Secondary Bulkhead - Cabin Forard Wall Outboard side - and deck delaminating


Secondary Bulkhead - in Heads Area looking aft - tabbing delaminating and cracking

Secondary Bulkhead - in Exterior Locker - view of the crack and continuation of tear in the locker

Nicholas and Matthew using a water level to ensure the hulls are exactly level and parallel

Sandbags to prevent damage to underside


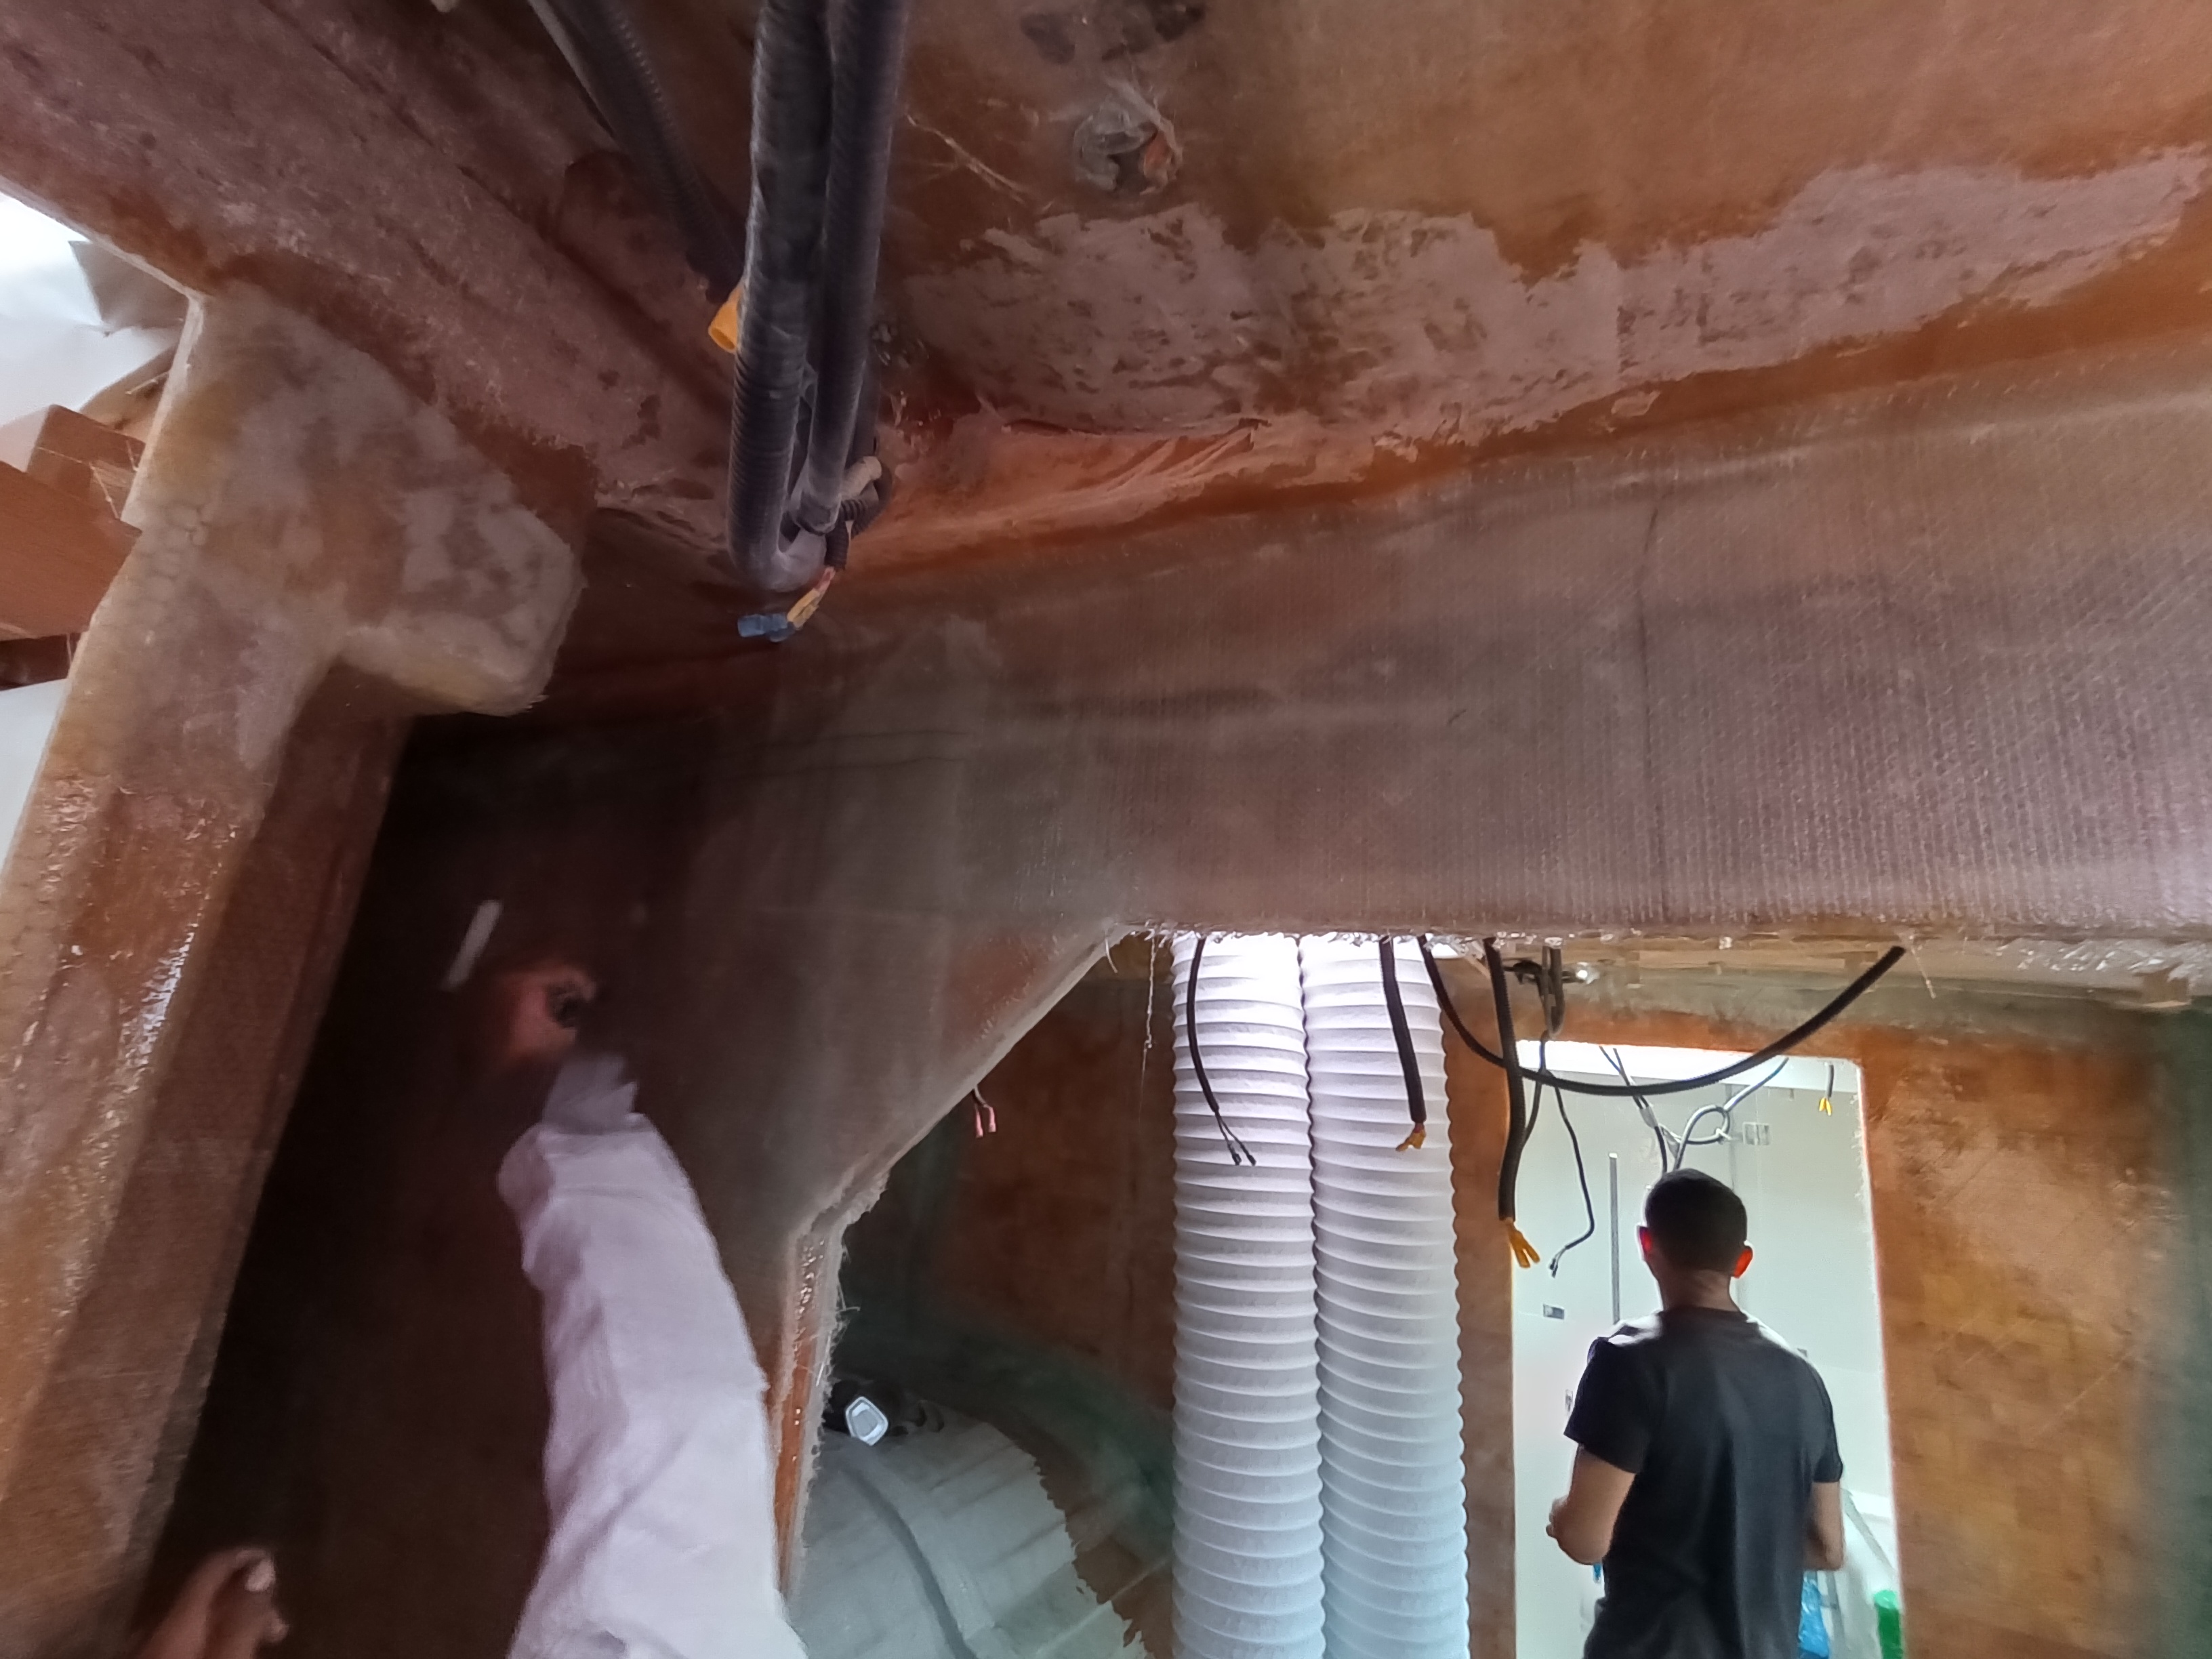
Grinding off the tabbing, sanding all surfaces and repping the area for repair
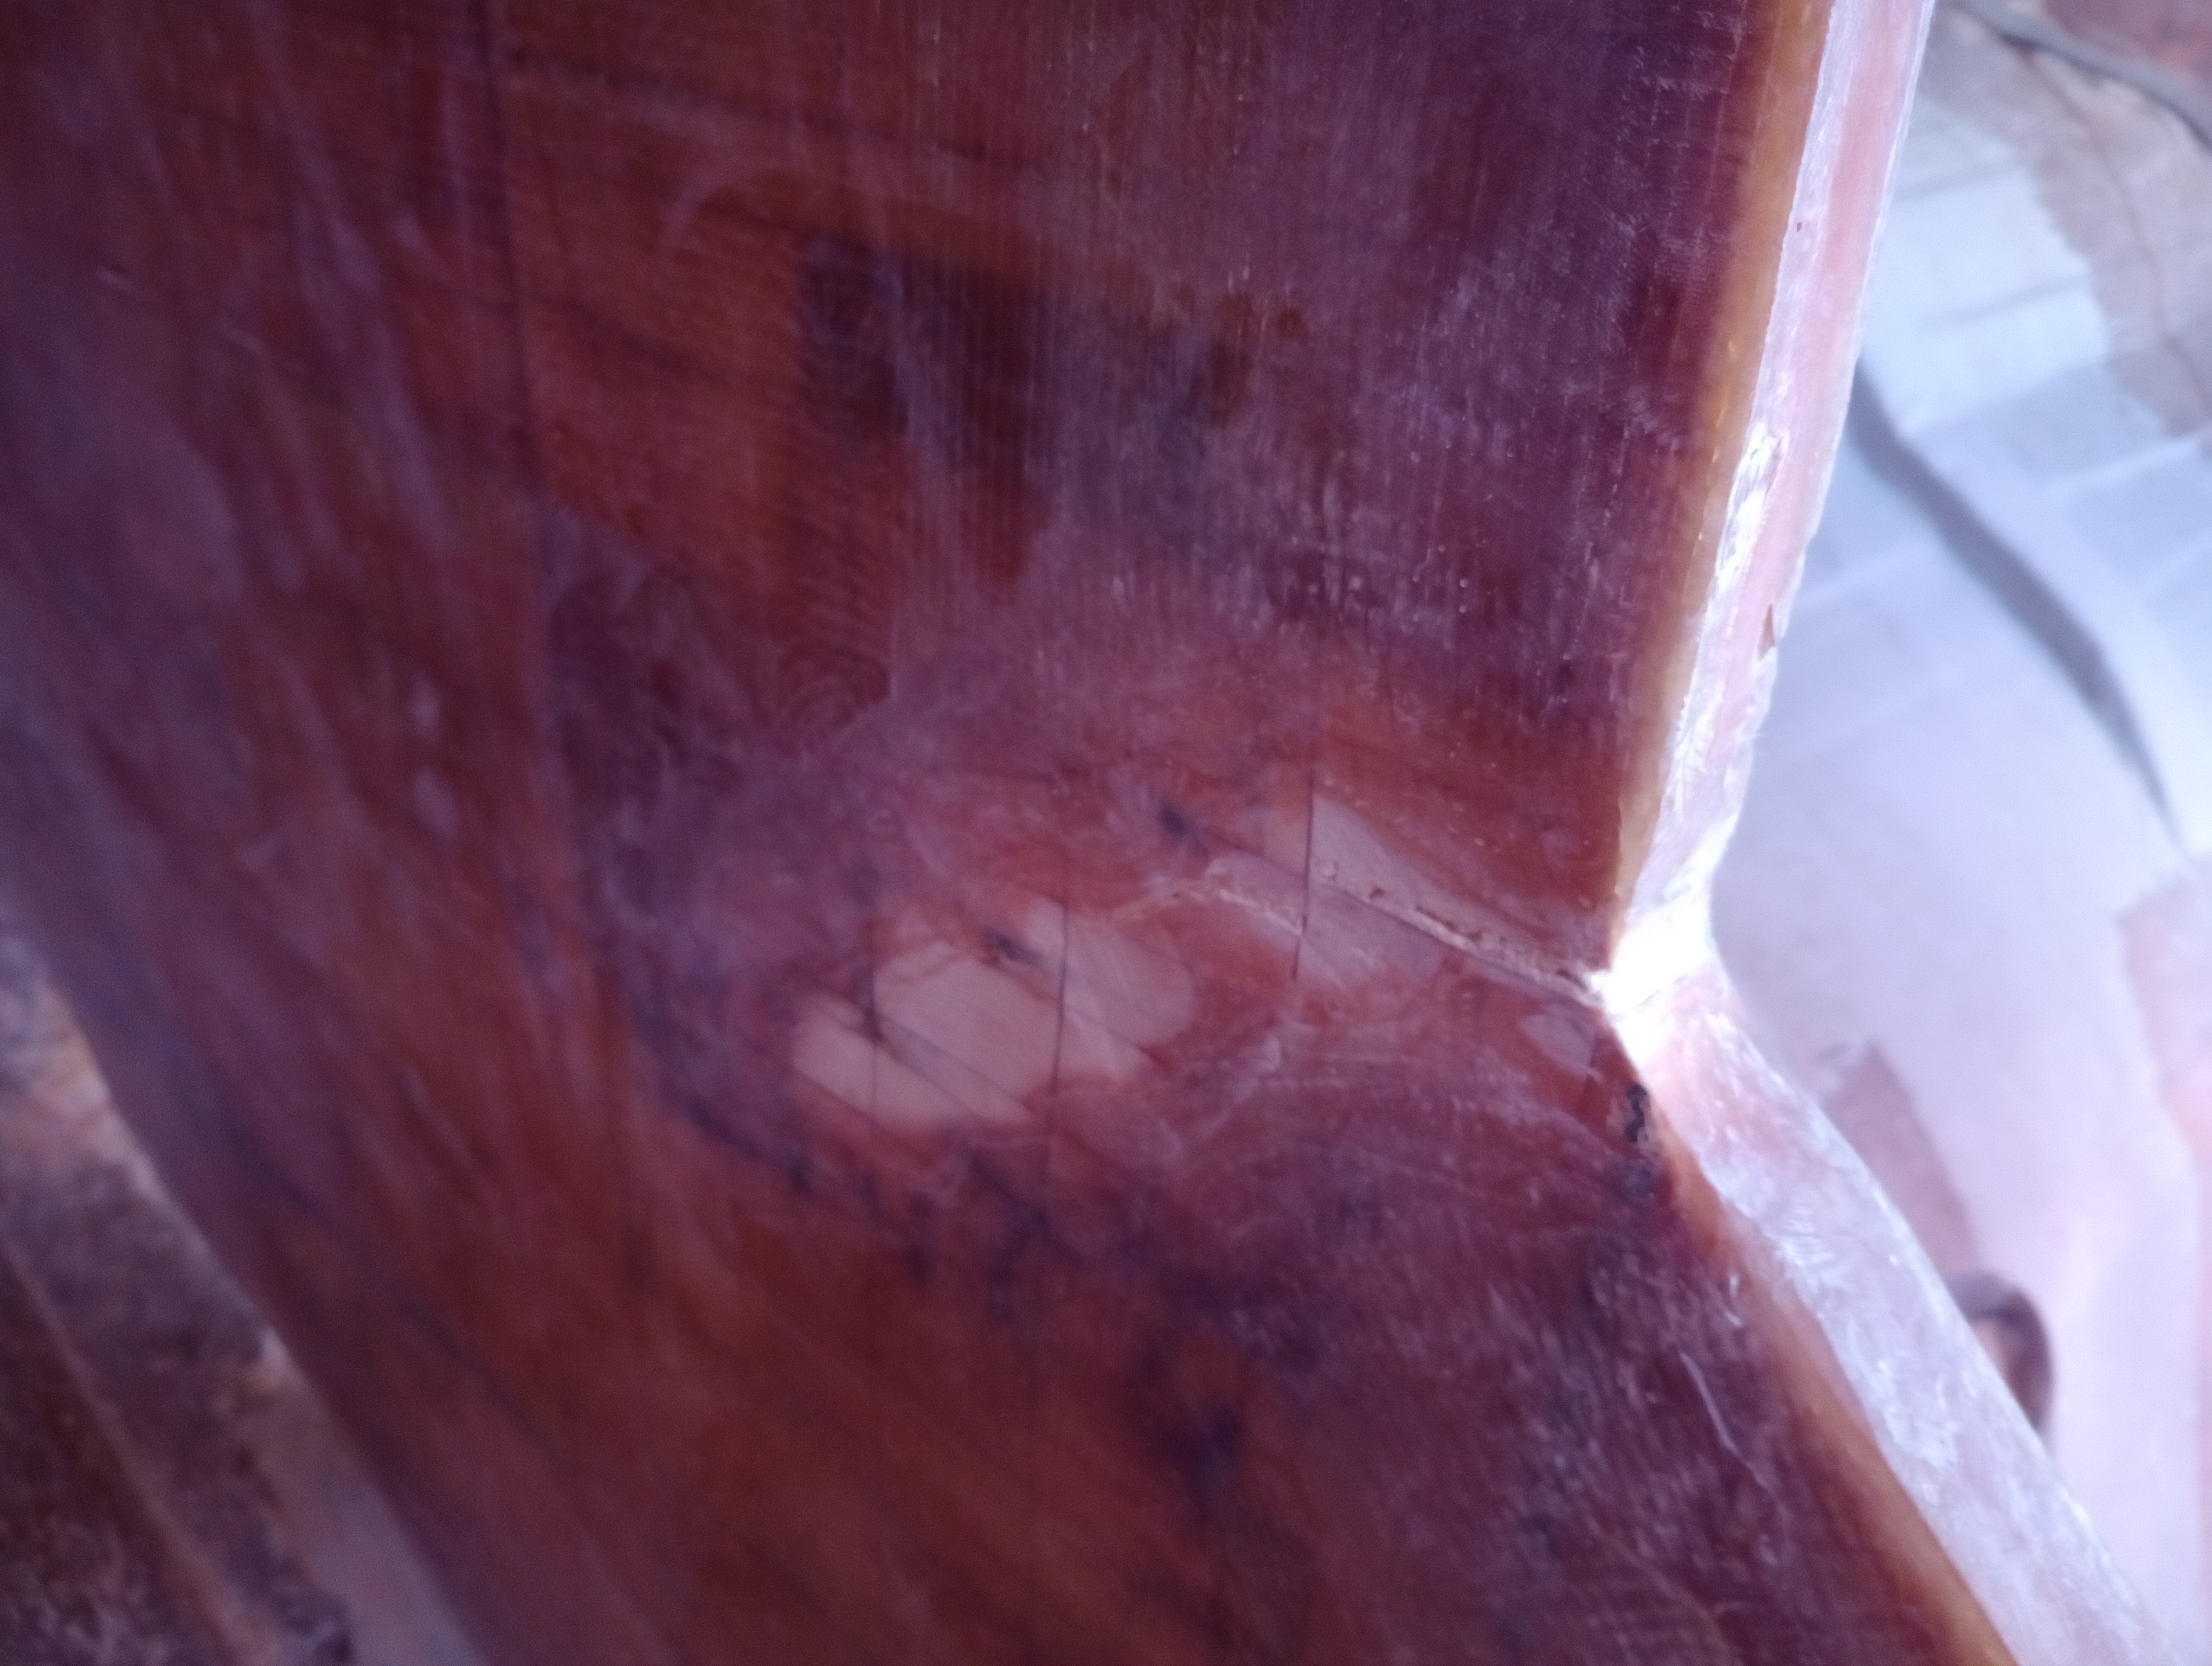


Additional support structures - 1” marine ply

Plastic sheeting protecting the boat from fiberglass dust

All surfaces sanded. Clean all dust and triple acetone scrub before glassing.
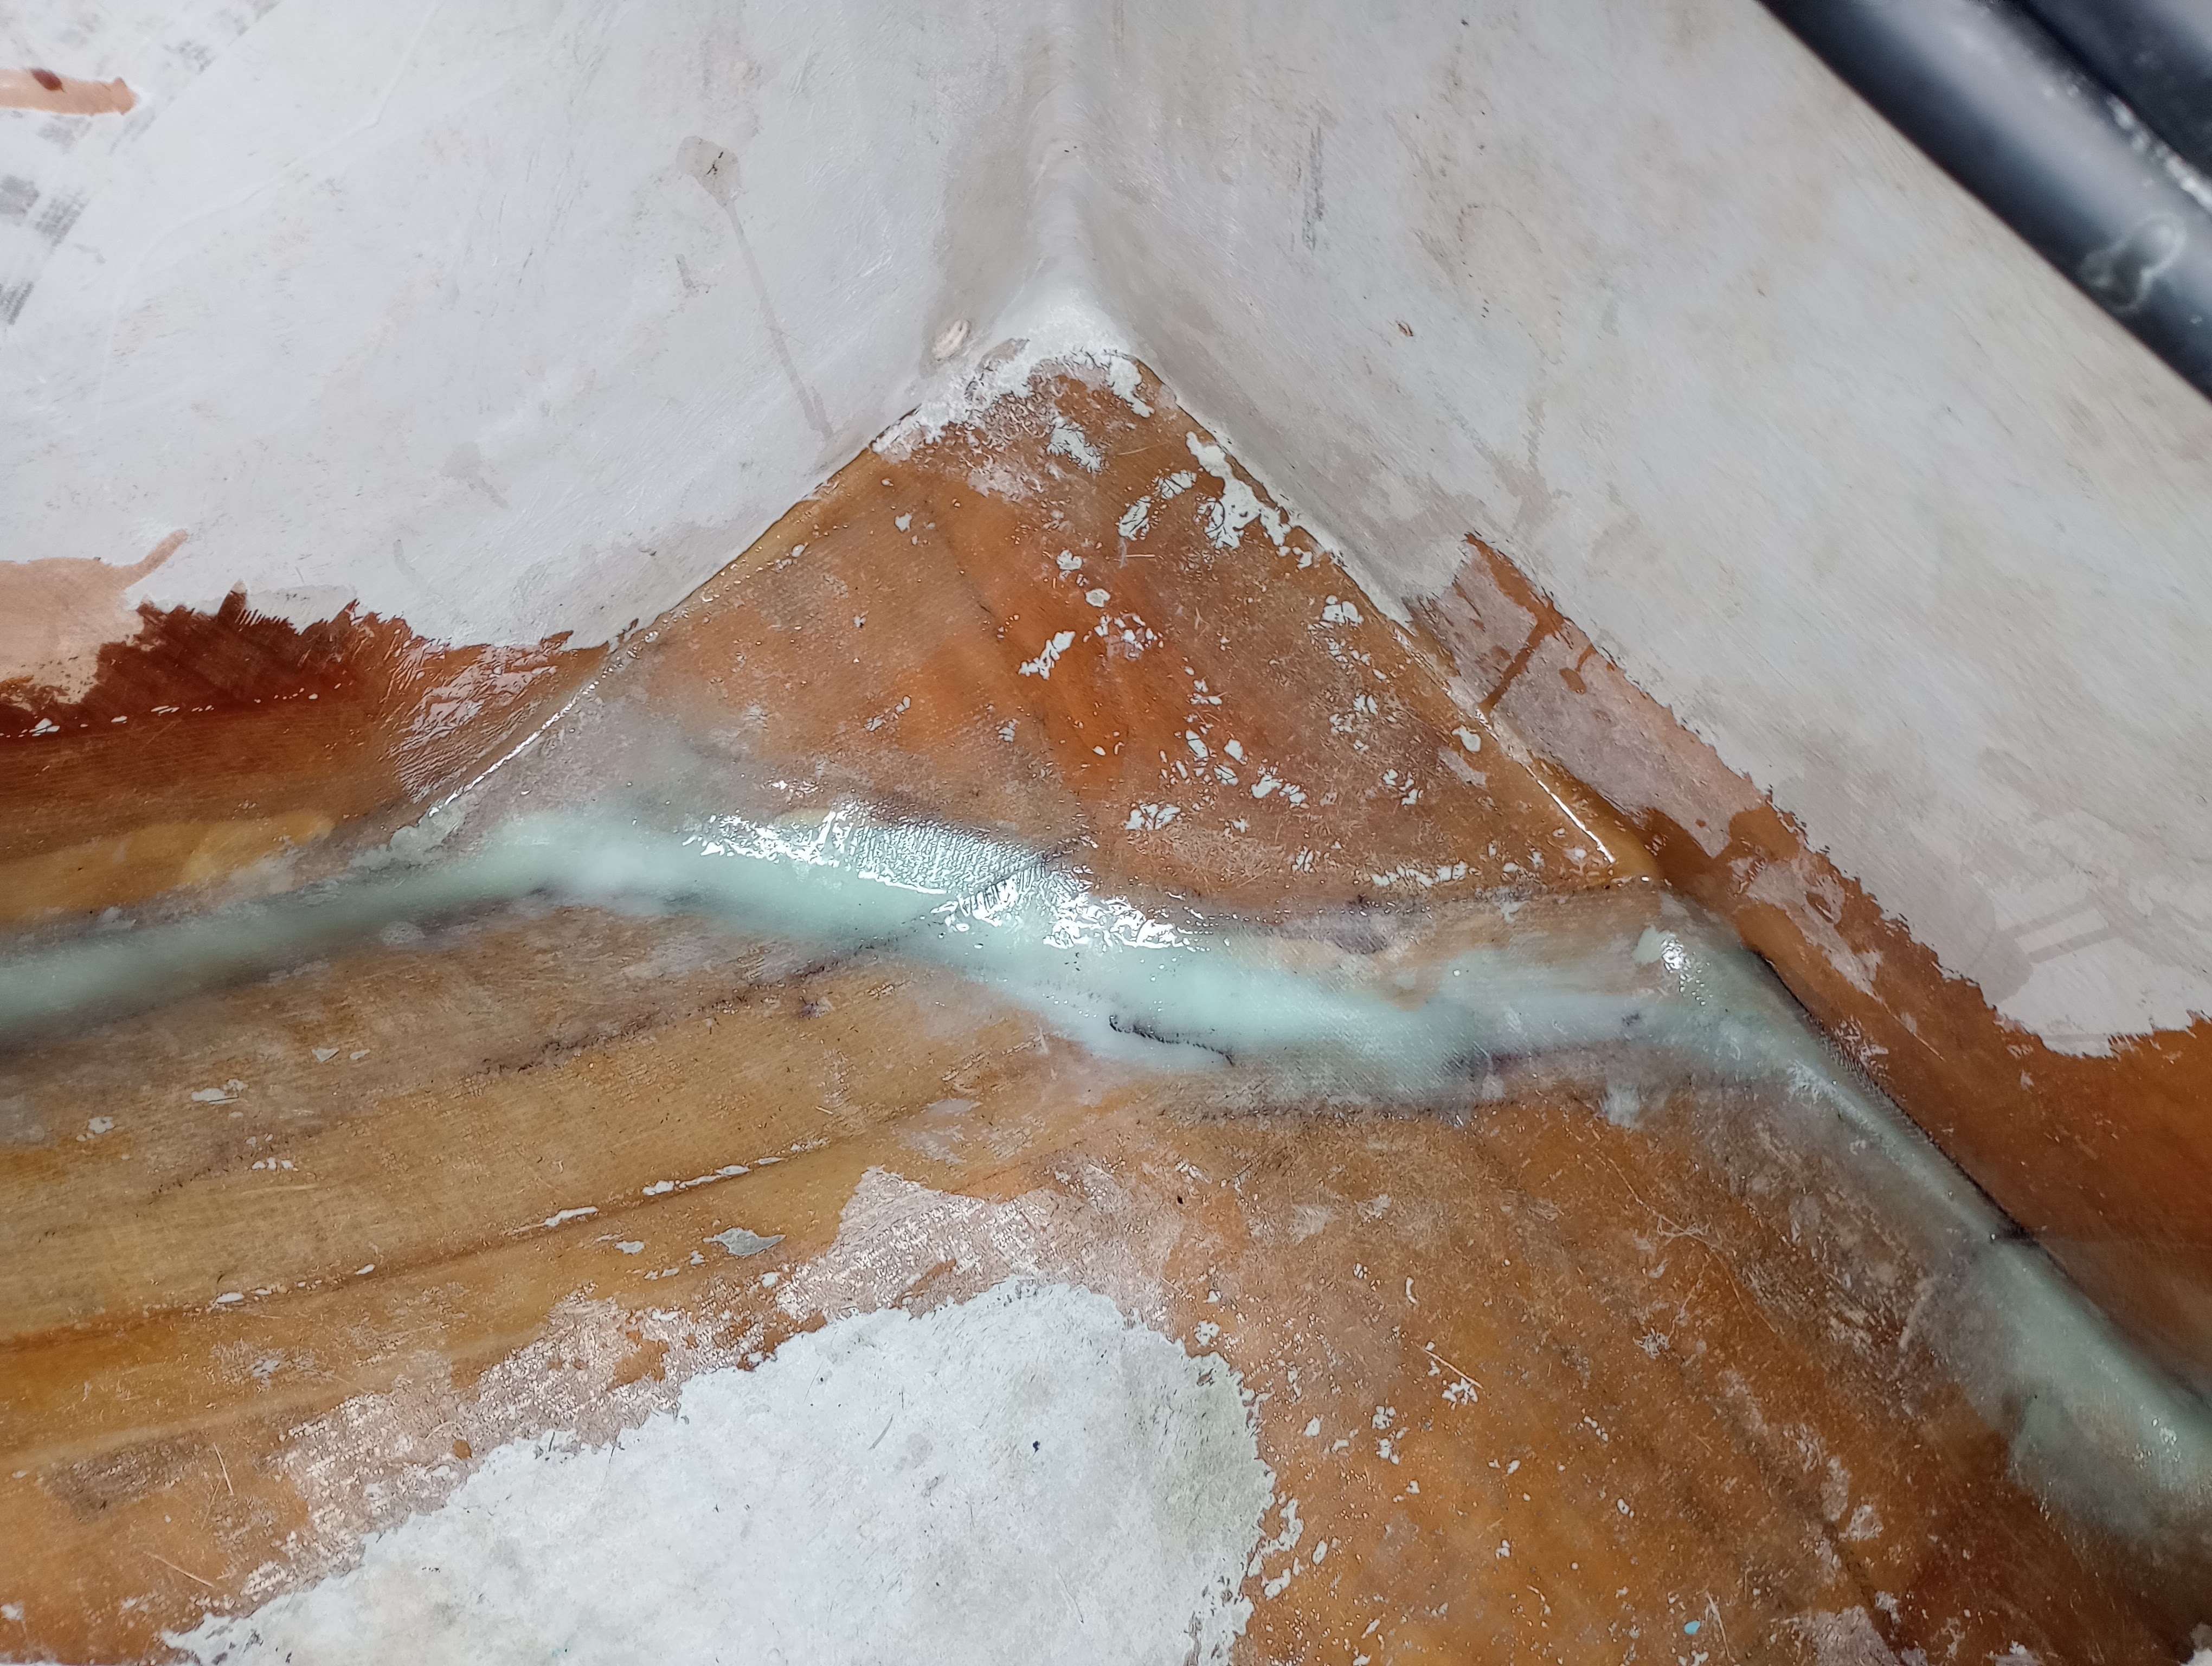
Epoxy and biaxial glass only. All tabbing = progressive layers.
Main bulkhead additional 4 layers each side.
Secondary bulkhead plus all other wall an additional 2 layers.
Building Fort Knox!



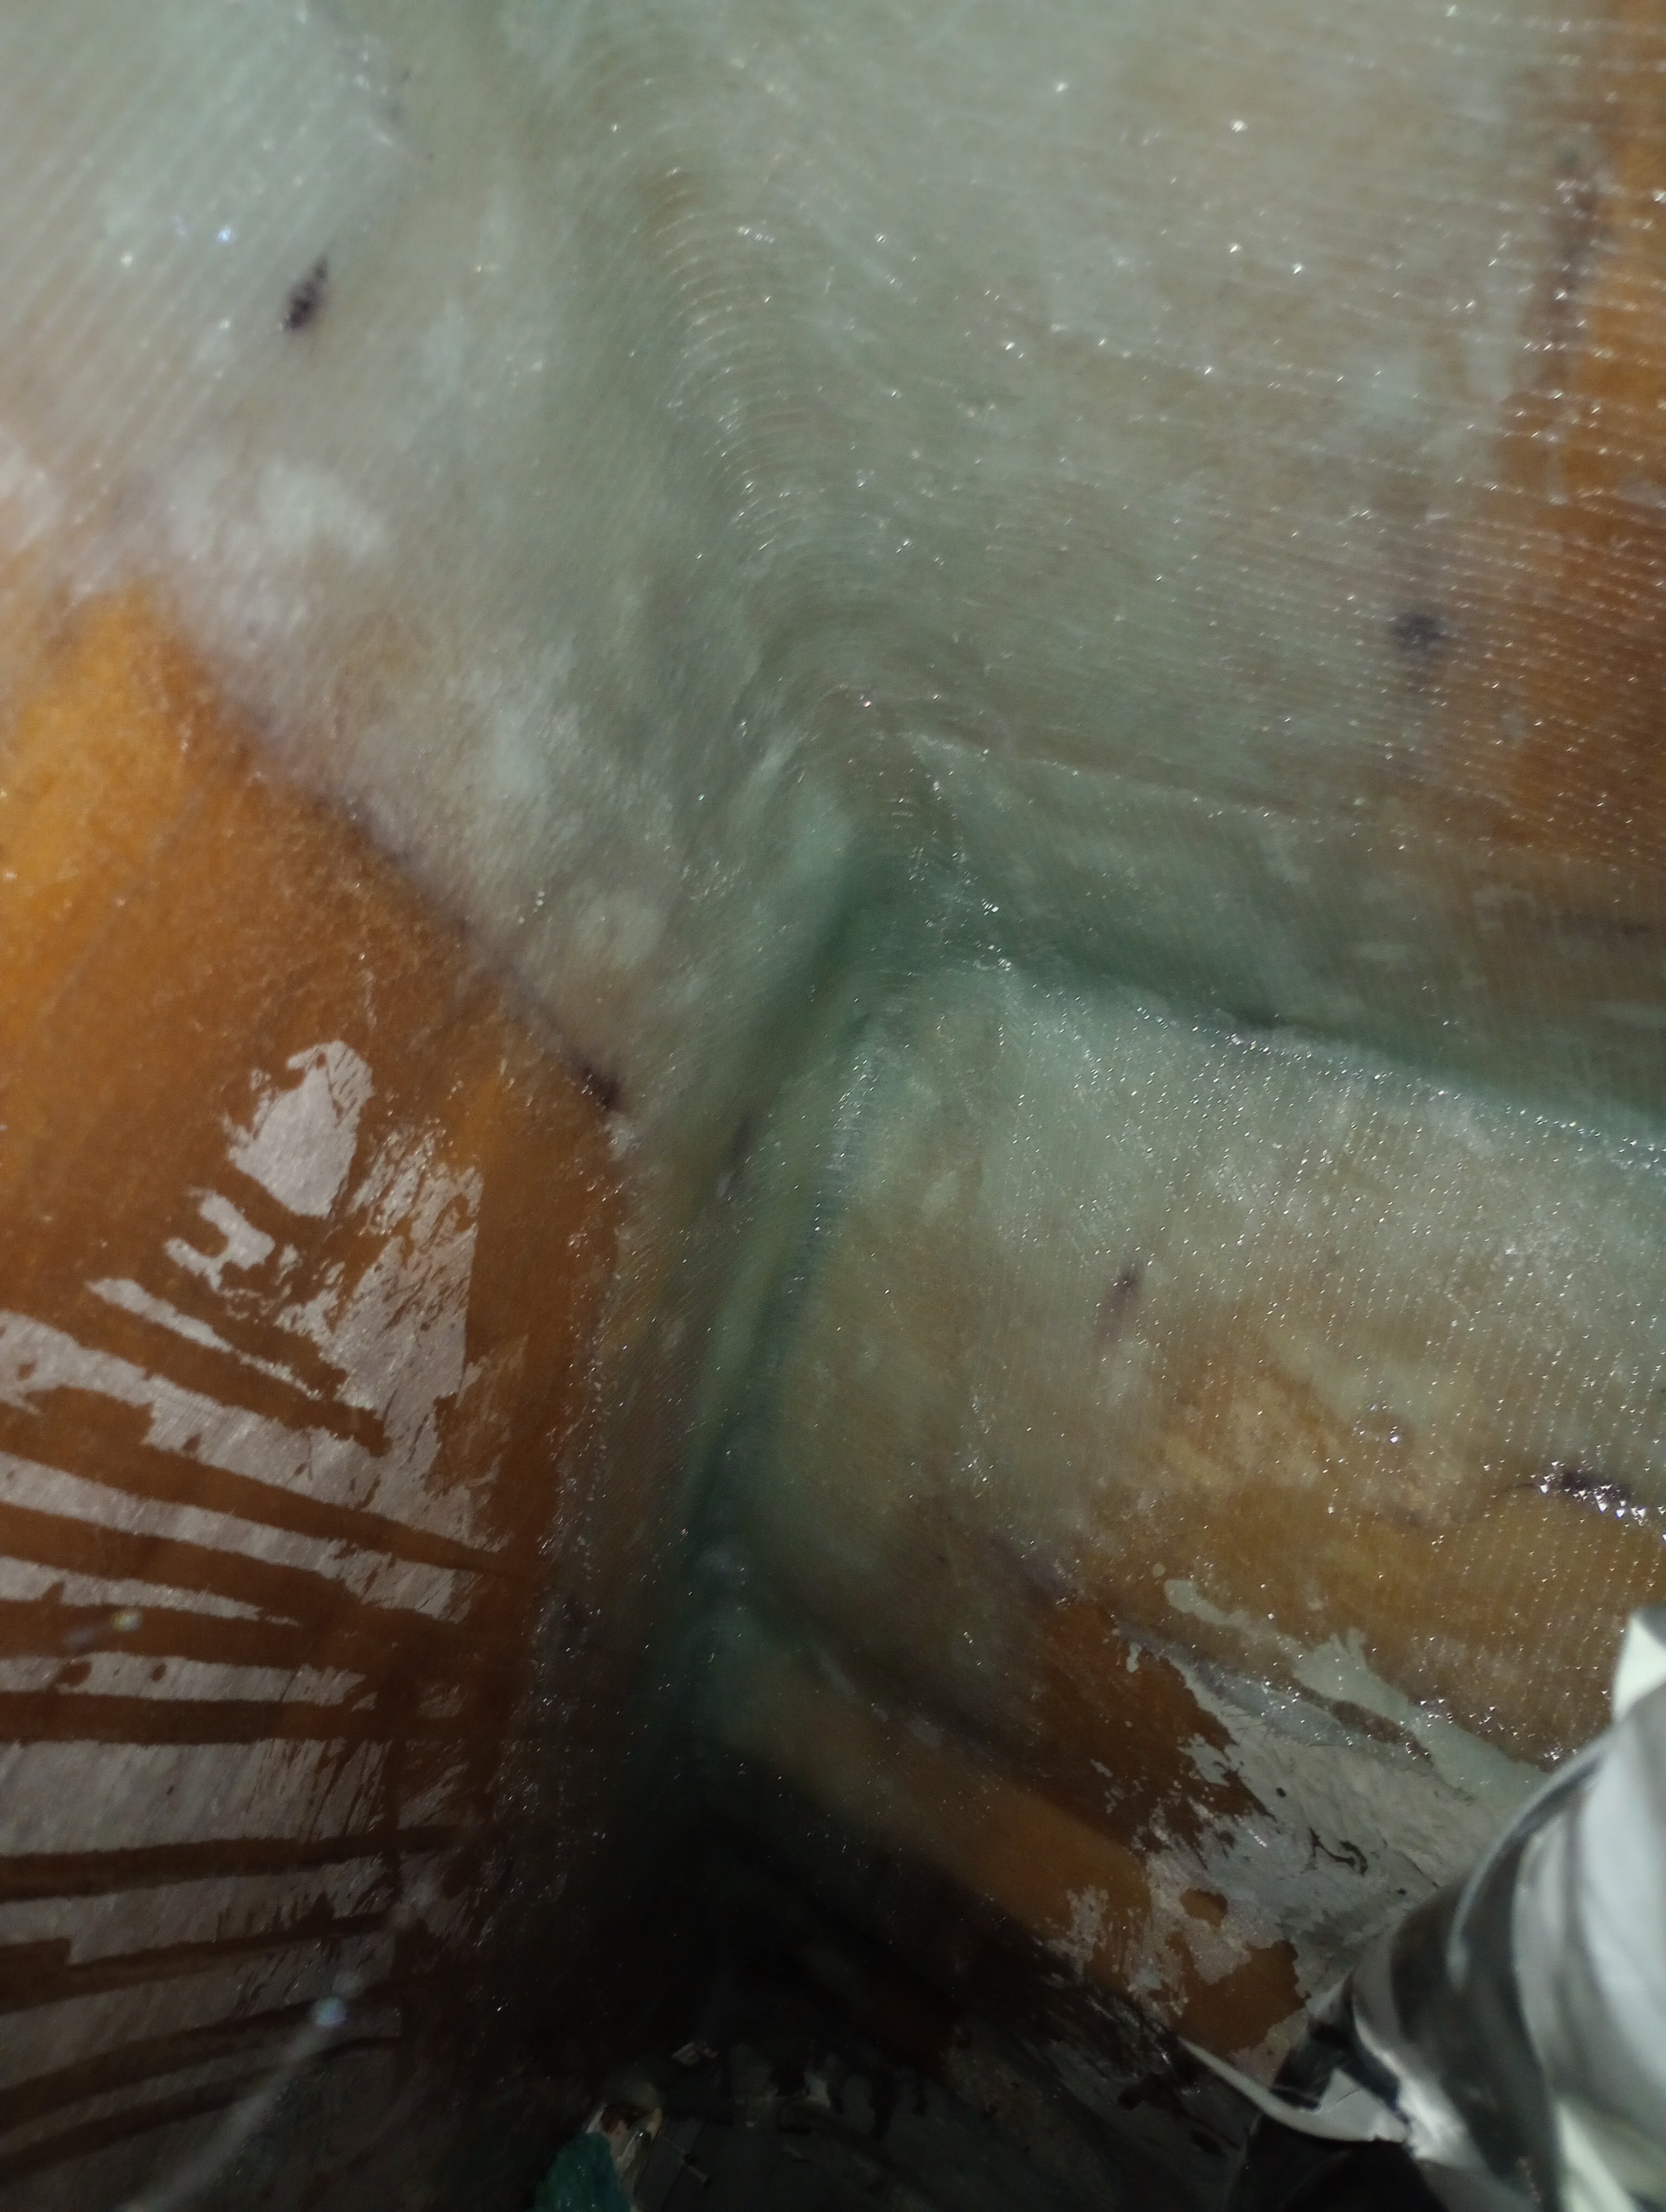

Using screws to clamp the plate to the Main Bulkhead - later removed before applying glass.
Plate glassed to Main Bulkhead aft side to tie everything together




Sand all surfaces and finish with epoxy paint


Now time to re-install all the wall cladding and furniture.


