It’s finally time, and the FlyBridge is finished ! YAY !
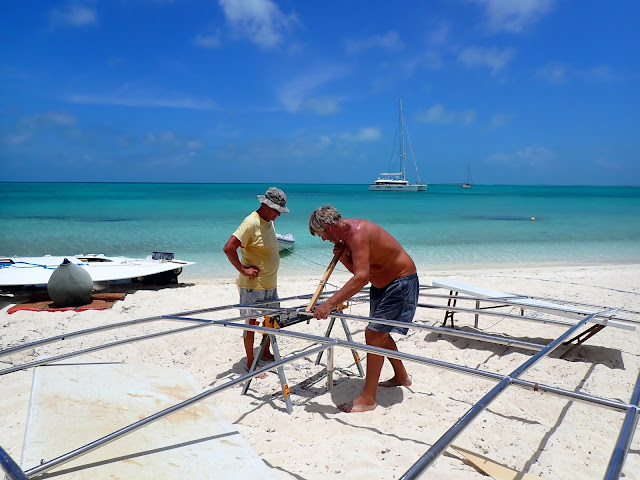
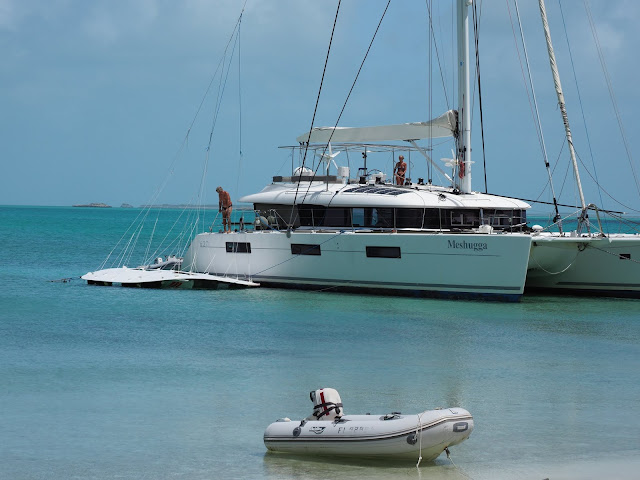
Below is a collage of photos of the manufacture and hoisting of the FlyBridge onto Meshugga.
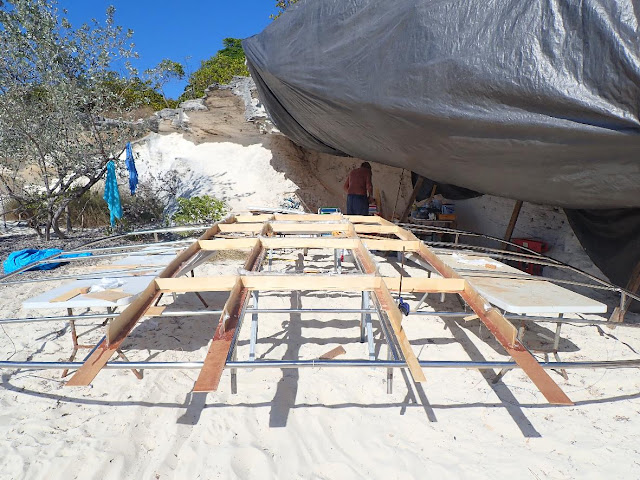
Frame ashore and 1st wood panels
More wood
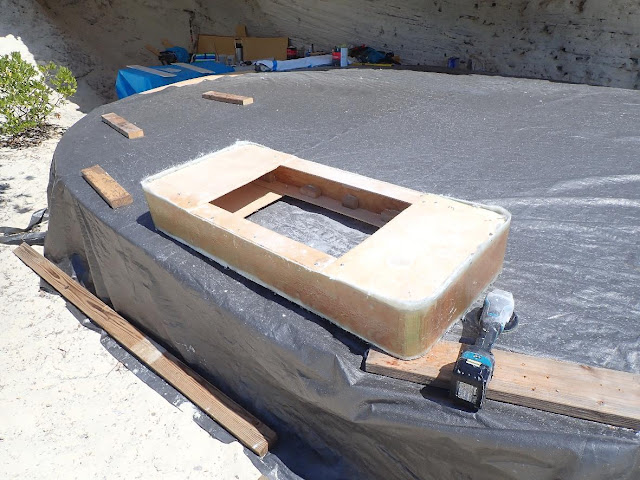
Wood complete and trimmed with access holes/windows
Glue perimeter piping
Getting the perimeter curve fair
Bonds underside for glassing
Bonds to edge and glass pipe
Perimeter pipe glass complete
Deidre Assisting
Window edge mold with glass layup
Cutting windows and installing edging
Ready for glass
First Top Layer
Second Top Layer complete
Frame to support when flipped
Support base
Underside - window trim
Underside Gelcoat
Installing tie-down loops from the top
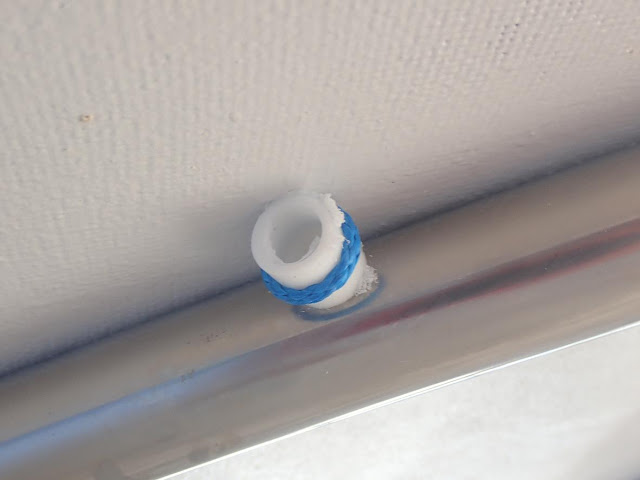
Tie-down Loops (pipe for size)
Finishing window trim
Solar Panel Supports
GelCoat
Lifting Ropes
Onto Hobie
Fenders for perimeter floatation
Nicholas walked the FlyBridge floating on the Hobie and Fenders to an area of the beach where there were no rocks and we could bring Meshugga in close to the beach
Flybridge tied off overnight in front of the Yacht Club
Whilst the FlyBridge was floating, Nicholas disassembled the Frame, and took it back to Meshugga
Aboard Meshugga, he re-assembled the frame and pop-riveted the frame back together with 316 stainless steel rivets.
Start of the hoist
Liberating Fenders
Nearly there
Final Adjustments
Lashing down
Complete (except for windows, solar panels and electrics)
Looking good
Thanks to Larry on Restless for the Drone photos and Hi-Res photos taken from the Yacht Club during our hoist.


